


Explore More Products From Smarter Surfaces


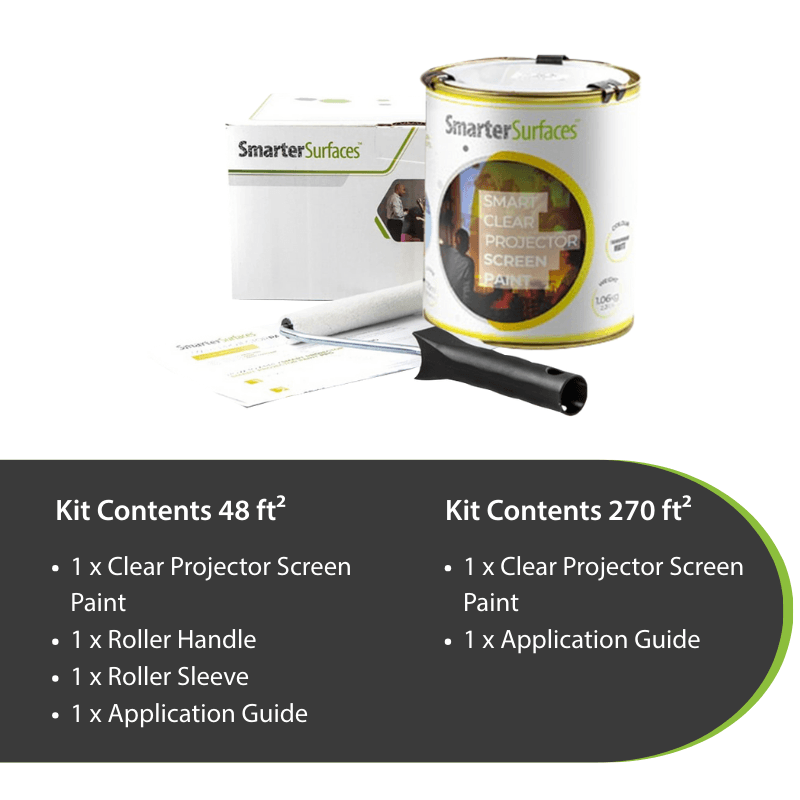
Clear Projector Screen Paint – Transparent Projector Screen
From $251.00 Select options This product has multiple variants. The options may be chosen on the product pageBlack Projector Screen Paint for High Contrast Projections
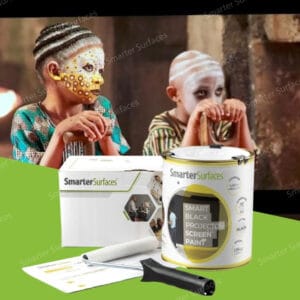
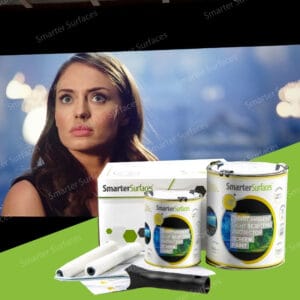
From $251.00 Select options This product has multiple variants. The options may be chosen on the product pageAmbient Light Rejecting Projector Screen Paint
From $239.00 Select options This product has multiple variants. The options may be chosen on the product pageMagnetic Projector Screen Whiteboard Wallpaper – 3 in 1 Wallpaper
From $313.00 Select options This product has multiple variants. The options may be chosen on the product page

How to Apply DIY High Contrast Projector Paint?
- Step 1 - Prepare the Surface - The surface should be clean and dry. For bare or unpainted surfaces, apply two coats of White Primer and then allow the primer to dry fully.
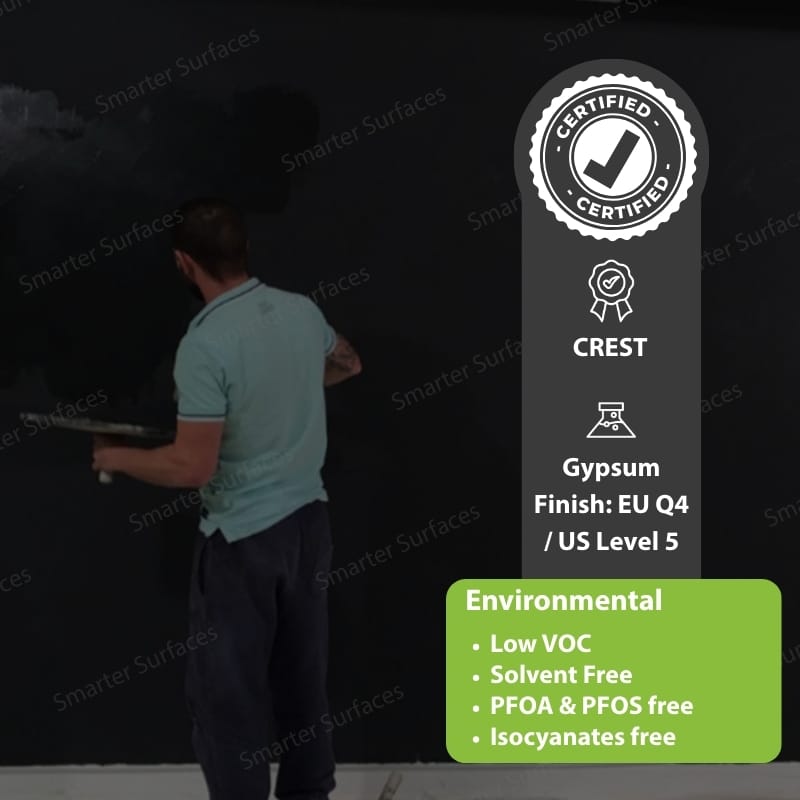
- Step 2 - Apply Paint - Stir the paint thoroughly before use. Apply the paint with a mohair or lint-free short-pile roller. Let it dry before applying the second coat.
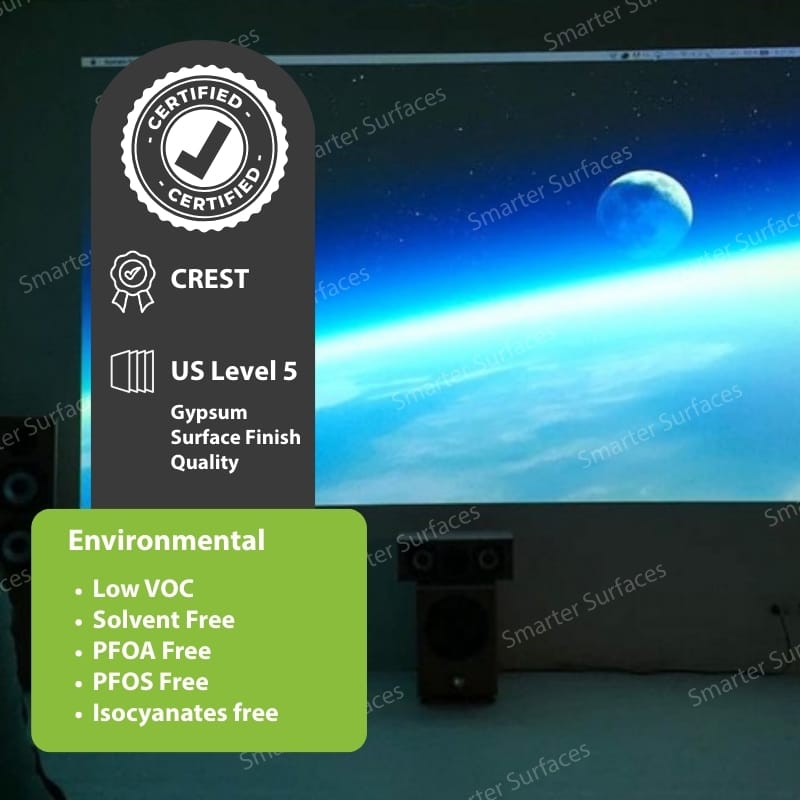
- Step 3 - Drying Time - High Contrast Light Grey Projector Screen will be ready to use in 24 hours.
Request a sample pack to test our product’s performance.
Have questions or need help? Reach out to us, our experts will offer exceptional customer service and support.
![]() A full application guide for High Contrast Projector Screen Paint.
A full application guide for High Contrast Projector Screen Paint.
