


Magnetic Projector Screen Whiteboard Wallpaper - Technical Specifications

Surface Area / Dimensions:
- 107 sq ft / 4ft x 26ft 6″
- 53 sq ft / 4ft x 13ft 3”
- 21 sq ft /4ft x 5ft 2”
Product Color: White (RAL: 9016)
Product Finish: Low Sheen
Gloss Measurement: 41 GU at 60 degrees
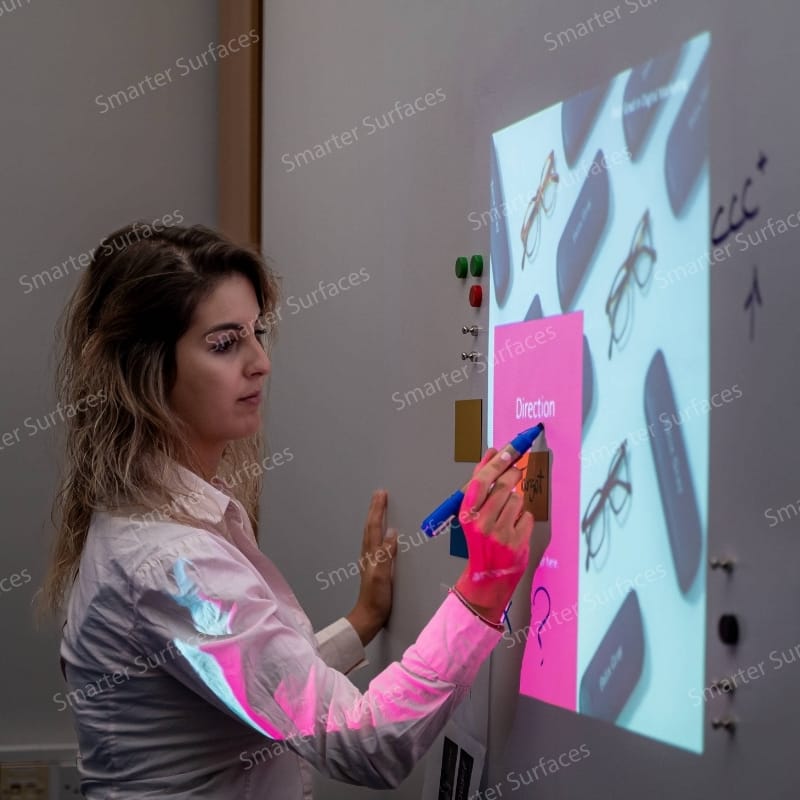
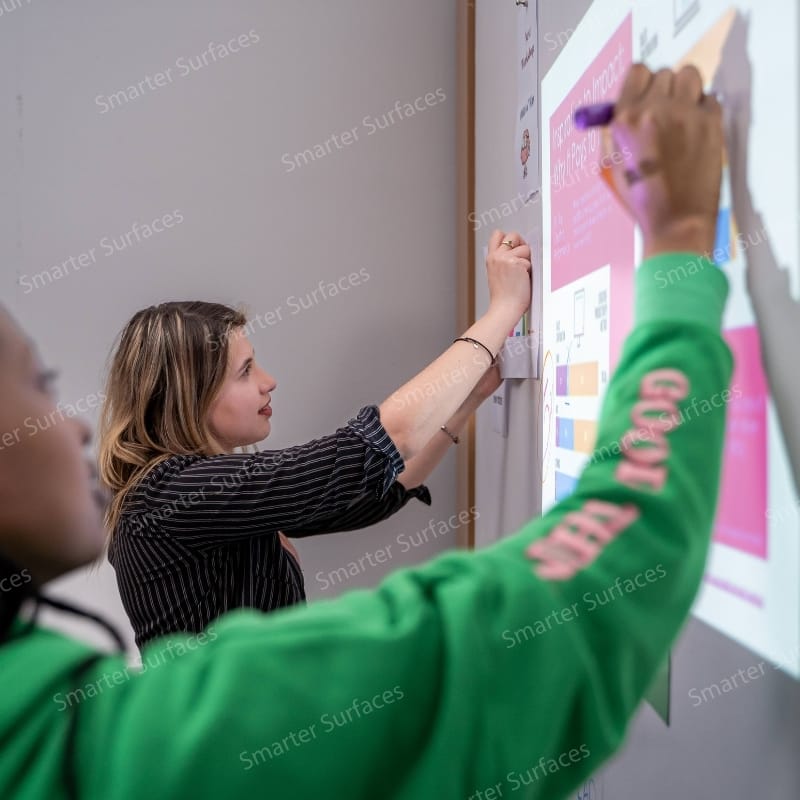
Gain Value: 1.1 at a viewing angle of 120 degrees
Material Thickness: 0.3”
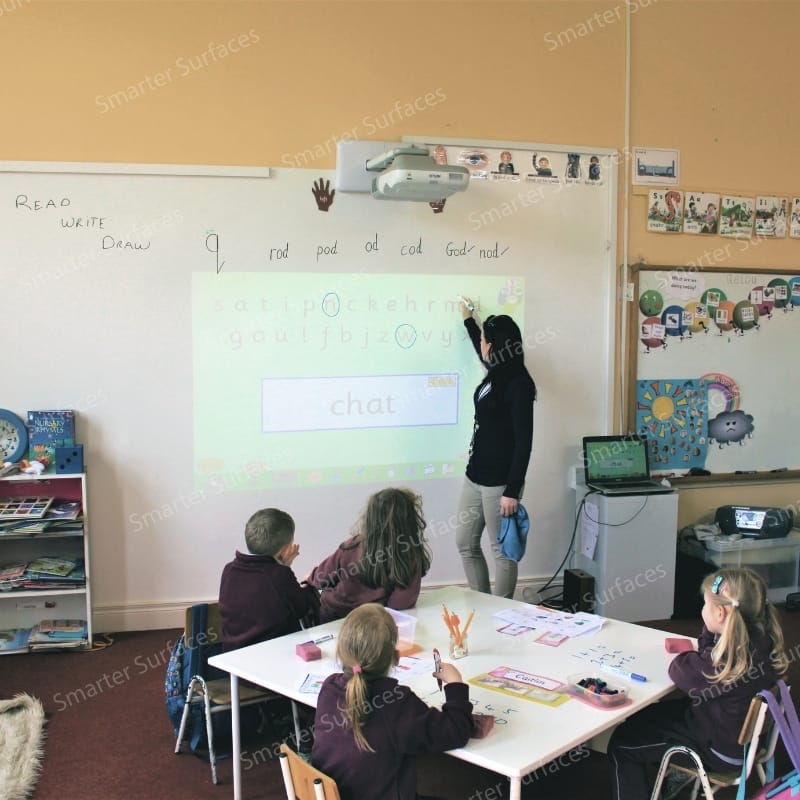
Lighting: Normal ambient lighting
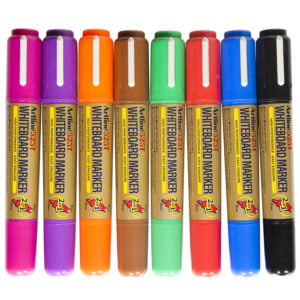
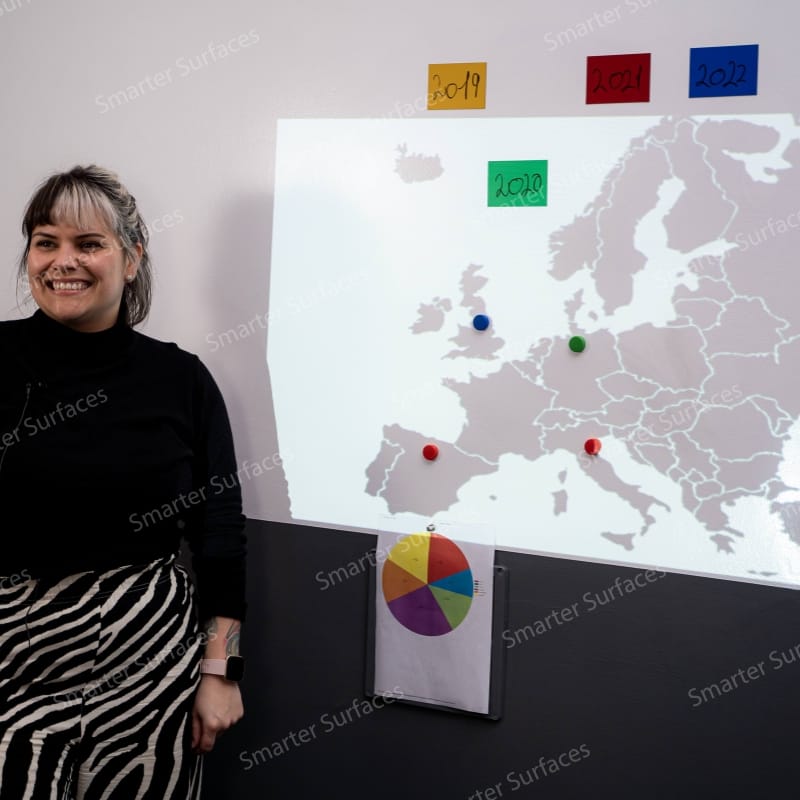
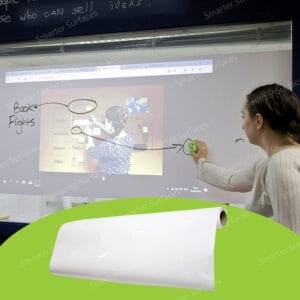
Performance: magnetic dry erase & projection with bright, sharp projection performance
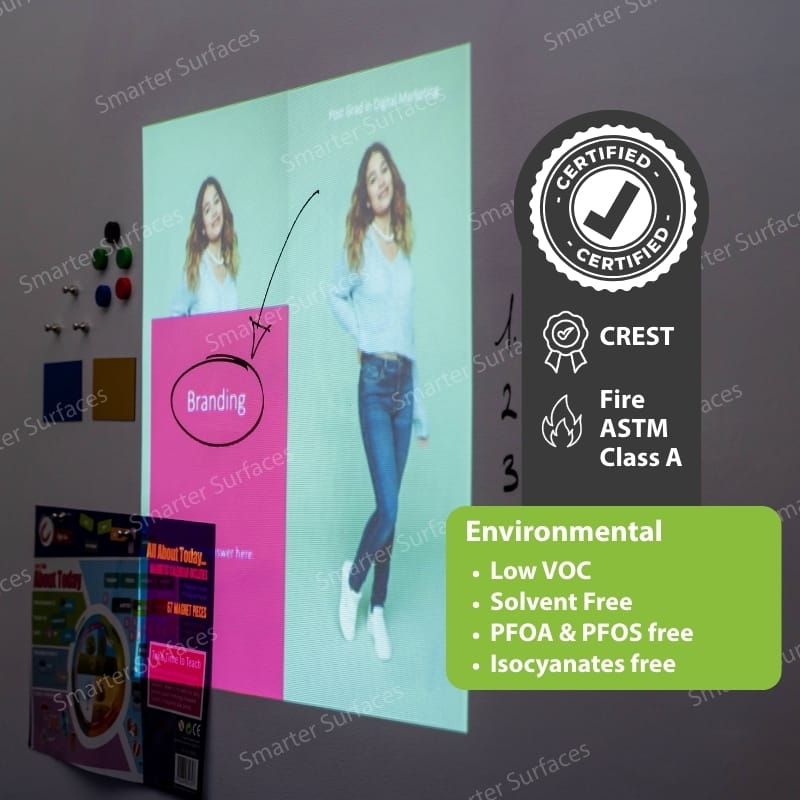
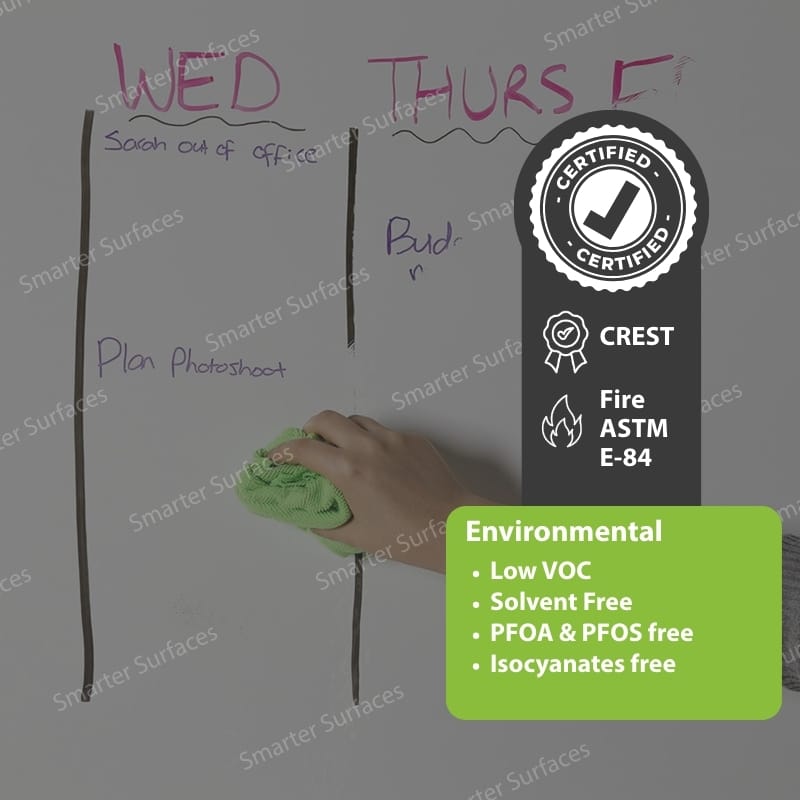
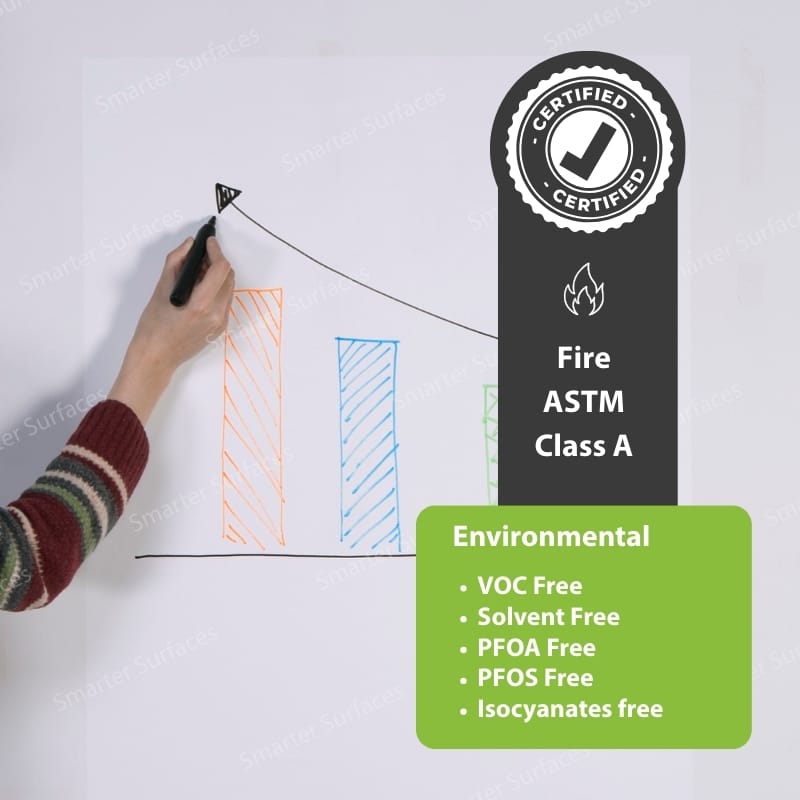
Environmental (exceeds all USA standards): VOC Free, Solvent Free, PFOA & PFOS Free and Isocyanates Free
Certification: Independent Projection Performance Report – CREST, Independent Fire certification: ASTM E-84 Class A
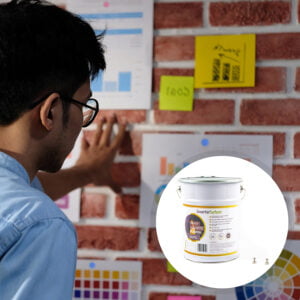
Suitable Surfaces: Walls or any flat surface
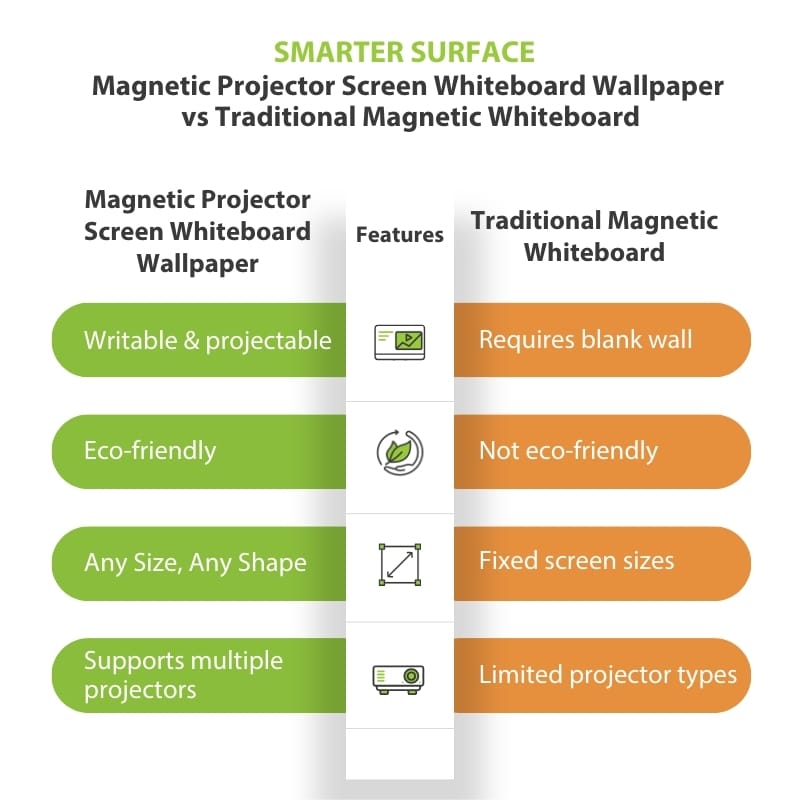
Compare the performance and specifications:
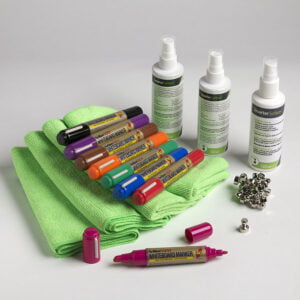
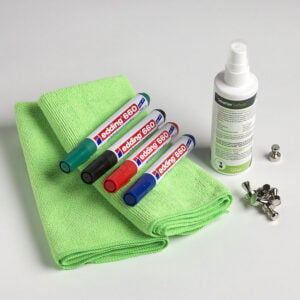
Magnetic Product Buying Guide
Backed by over twelve years of manufacturing expertise in whiteboard and projection surface technology.
Not sure what product is right for your situation? Our team is here to help with video call support, live chat, phone, and email. Enjoy free technical guidance, creative ideas, and personalized product recommendations to ensure the perfect fit for your needs. Worried about installation? We’re ready to assist and guide you every step of the way.
Explore More Products From Smarter Surfaces


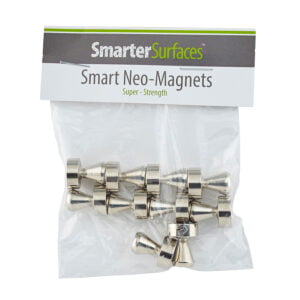
Magnetic Whiteboard Wallpaper 2-in-1 Surface
From $263.00 Select options This product has multiple variants. The options may be chosen on the product page
Projection Screen Whiteboard Self Adhesive Film – Peel & Stick
From $125.00 Select options This product has multiple variants. The options may be chosen on the product pageProjector Whiteboard Wallpaper – White
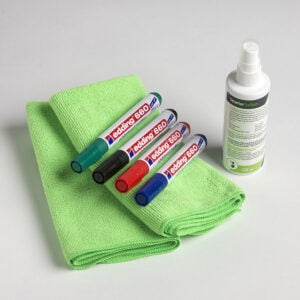
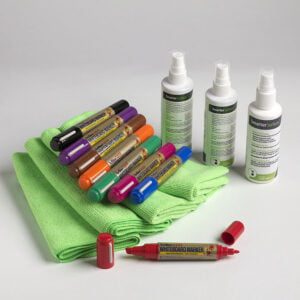
From $187.00 Select options This product has multiple variants. The options may be chosen on the product pageWhiteboard Wallpaper – Dry Erase Wallpaper
From $162.00 Select options This product has multiple variants. The options may be chosen on the product page


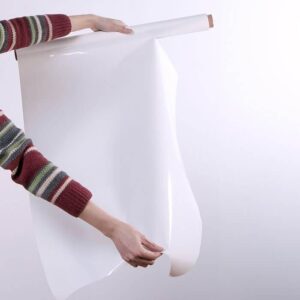
How to Apply Magnetic Projector Screen Whiteboard Wallpaper
Magnetic Projector Screen Whiteboard Wallpaper is easy to install and ready to use in just 48 hours.
For the best usability, we recommend hanging the wallpaper horizontally for convenient, eye-level use. Follow these steps for an easy application process:
- Step 1 - Prepare the surface. Fill any cracks or defects, then sand until smooth and clean. Lay the wallpaper flat, measure accurately, and trim to size using sharp scissors or a razor.
- Step 2 - Use only vinyl-on-vinyl adhesive (normal wallpaper adhesive is not suitable). Apply two coats evenly to the wall. Roll out and position the projector screen whiteboard roll on the wall into the wet adhesive, just like traditional wallpaper.
- Step 3 - Smooth the surface using a hard plastic wallpaper spatula, push out air bubbles or excess adhesive from the centre to the edges. Neatly cut away any excess using a razor blade.
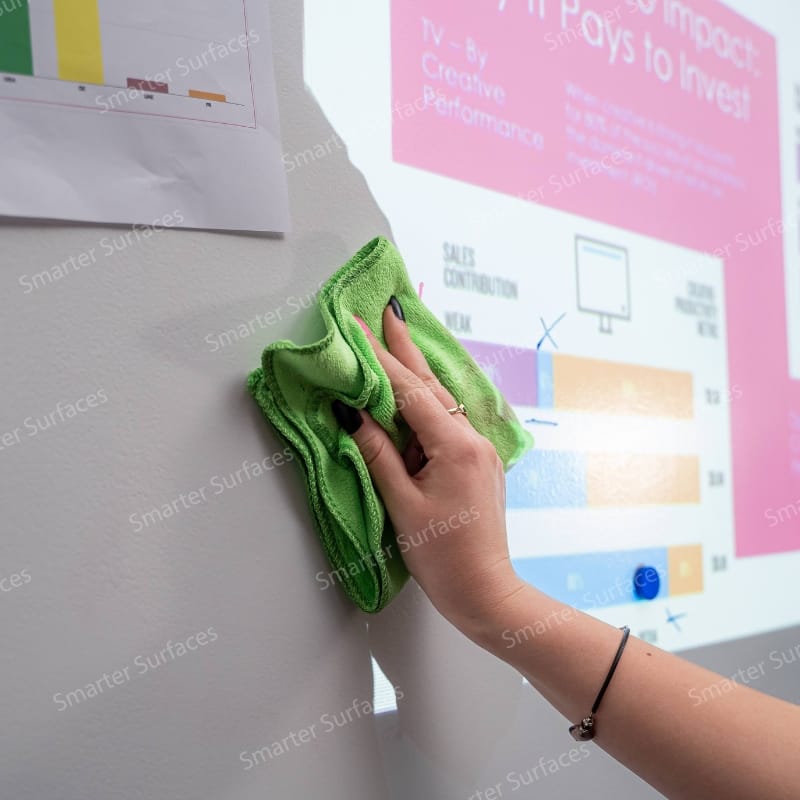
- Step 4 - Wipe with a damp cloth to remove leftover adhesive and wait 48 hours before using the surface.
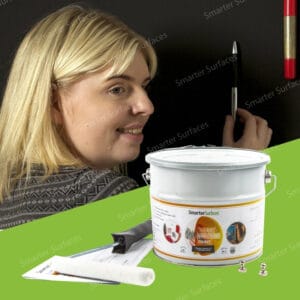
Want to experience the product first? Reach out to us and request a sample pack to test its performance.
If you have any additional questions or need further assistance, our team is here to help.
![]() A full application guide to help you apply our Magnetic Projector Screen Whiteboard Wallpaper.
A full application guide to help you apply our Magnetic Projector Screen Whiteboard Wallpaper.
