
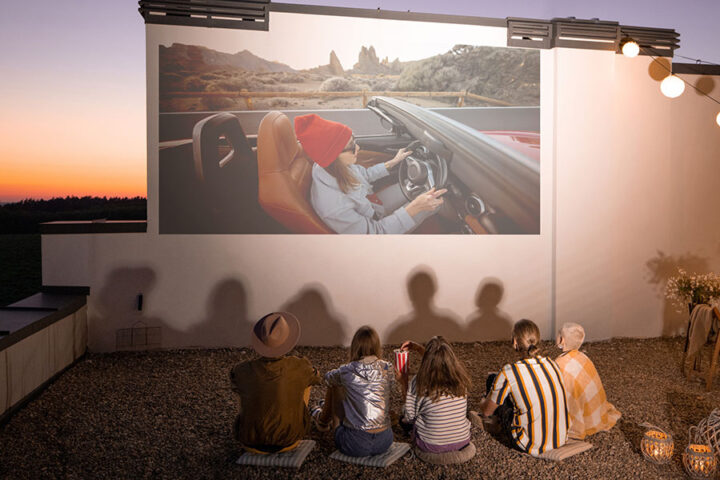
Upgrade Your Outdoor Spaces with Exterior Projector Screen Paint
The Rise of Outdoor Projection Entertainment They say the sky’s the limit, but with outdoor projection, even the sky becomes your screen. So whether you are enjoying a warm summer night with your family in the backyard, rallying sports fans...Continue reading→
Projector Screen Alternatives for Office, School, Home, and Commercial Spaces
Tired of bulky projector screens that clutter your space, require mounts, and clash with your decor? You are not alone. As more people look for streamlined and space-saving setups in offices, classrooms, homes, and commercial environments, the demand for innovative...Continue reading→

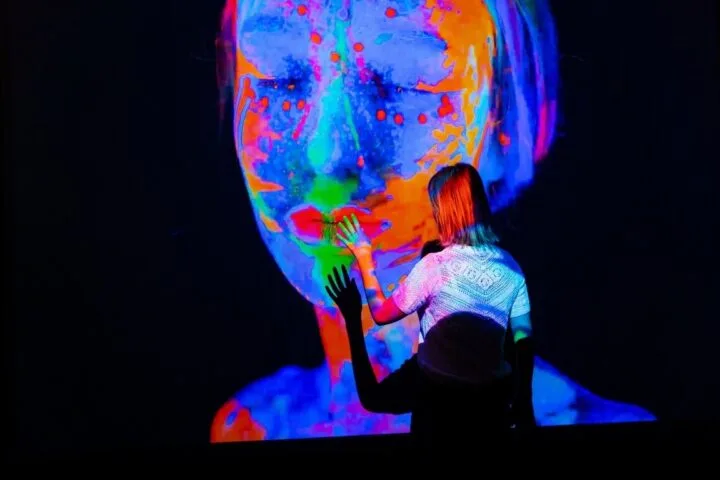
Should You Go with White or Black Projector Screen Paint for Better Projection?
Selecting the appropriate projector screen paint color is a critical decision for commercial projection, home theaters, museums, and event spaces. The choice of screen color can significantly impact the quality of the projected image, affecting factors such as contrast, brightness,...Continue reading→
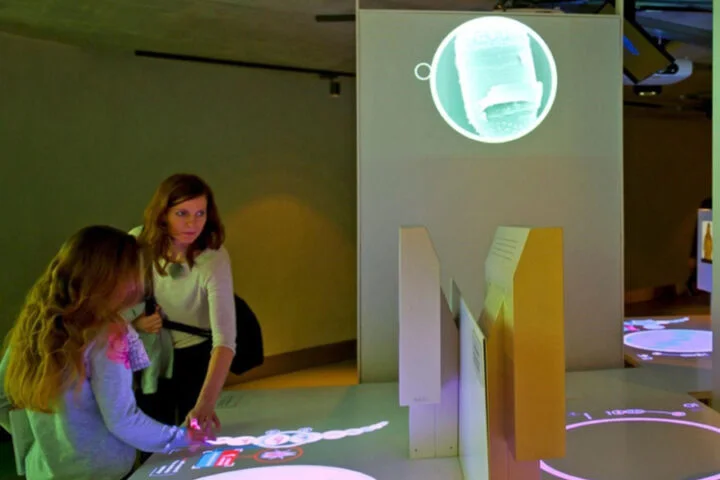
Smartboards vs Interactive Projector Screen Paint: Which Is Better for Your Classroom or Office?
They say “necessity is the mother of invention“, and well, nowhere is this more evident than in the modern classrooms or boardrooms. So as we navigate through an age where “change is the only constant” (Heraclitus), technology is undeniably continuing...Continue reading→

ALR Projection Screen Surface and Why it Matters
There’s no denying the fact that in today’s world of high-definition content and immersive viewing experiences, our screens are no longer just a surface, but they are rather the ultimate stage, spotlight, and the star of the show. If you’re...Continue reading→
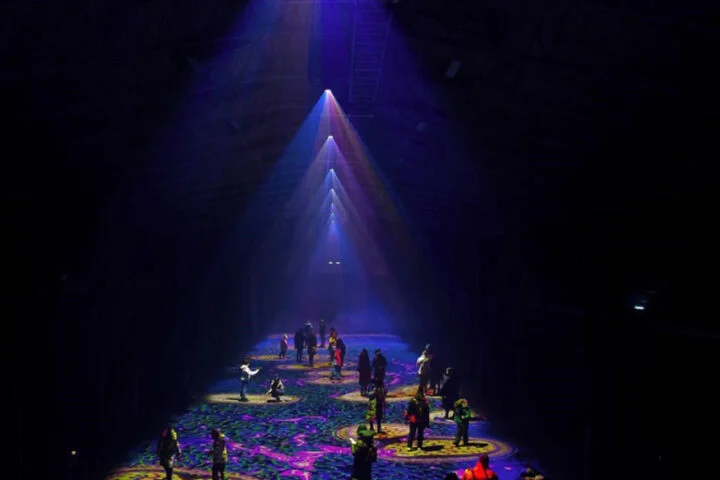
Floor Projection for Museums, Trade Shows, and Events
Floor projection is transforming how museums, trade shows, and event spaces engage visitors. By turning any smooth floor into a vibrant, high-definition display, this technology creates immersive environments that captivate audiences and enhance storytelling. For example, such as EPIC Museum...Continue reading→

Why is UST Projector Screen Paint Better Than The Projector Screen?
When setting up an immersive collaborative space or a workspace, one of the main decisions you will face is selecting the perfect surface for the ultra-short-throw (UST) projector. Traditional projector screens have long been the default choice. But today, a...Continue reading→

Best Silver Screen Paint for 3D projection: A Complete Buyer’s Guide
It’s not just about the latest blockbuster or the roar of your surround sound, crafting an unparalleled movie experience requires the perfect screen. Our latest launch, Silver Screen Paint for 3D projection is here to ensure that you have the...Continue reading→

How Medical Schools Can Leverage Antimicrobial Whiteboards
In medical schools, hygiene is more than just a suggestion. Proper measures to maintain cleanliness are always a top priority. While regular cleaning and sanitation are vital, antimicrobial surfaces with germ-fighting properties can revolutionize hygiene practices. Imagine whiteboards that actively...Continue reading→