
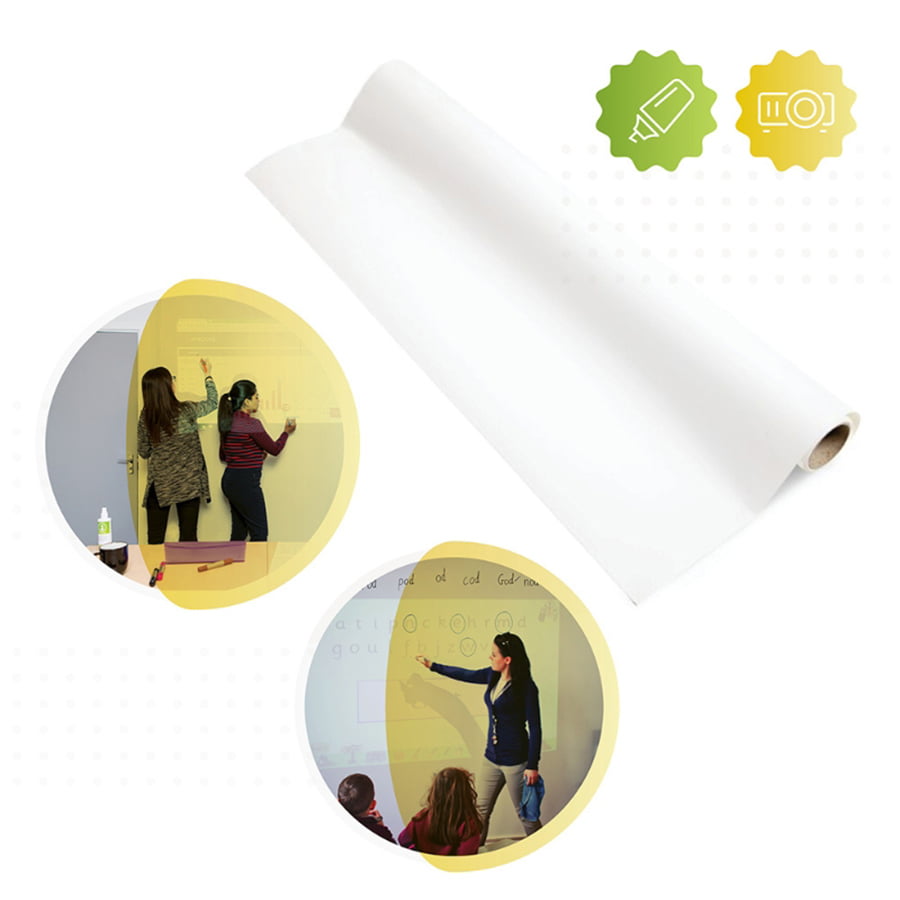


Projector Whiteboard Wallpaper Technical Specifications

Coverage / Dimensions:
- 107 sqft / 4 ft x 26 ft 6″
- 53 sqft / 4 ft x 13 ft 3”
- 21 sqft /4 ft x 5 ft 2”
Product Color: White (RAL: 9016)
Product Finish: Low Sheen
Gloss Measurement: 41 GU at 60 degrees
Gain Value: 1.1 at a viewing angle of 120 degrees
Material Thickness – .12”
Lighting: Normal ambient lighting
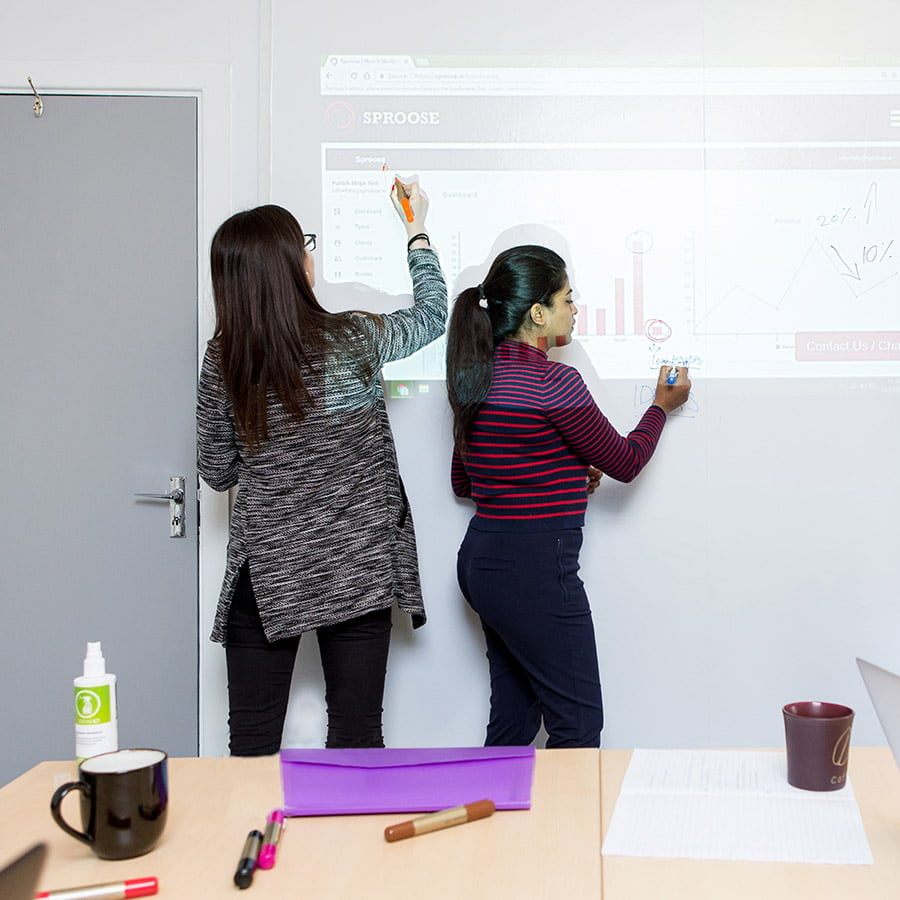
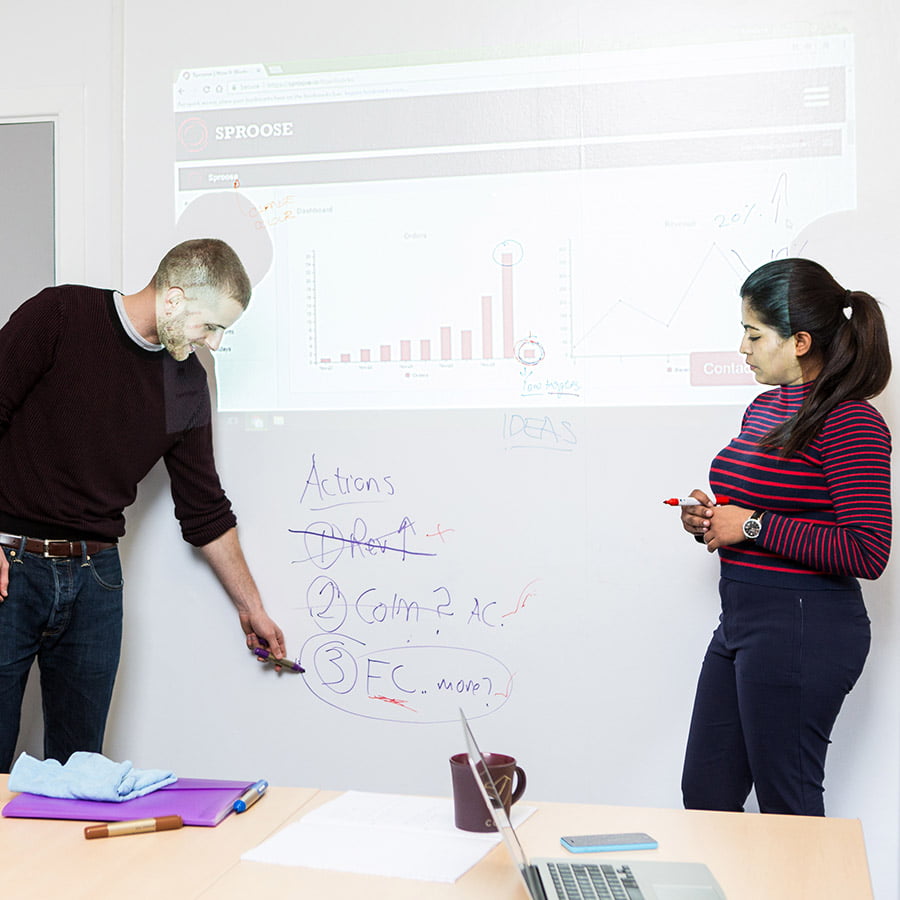
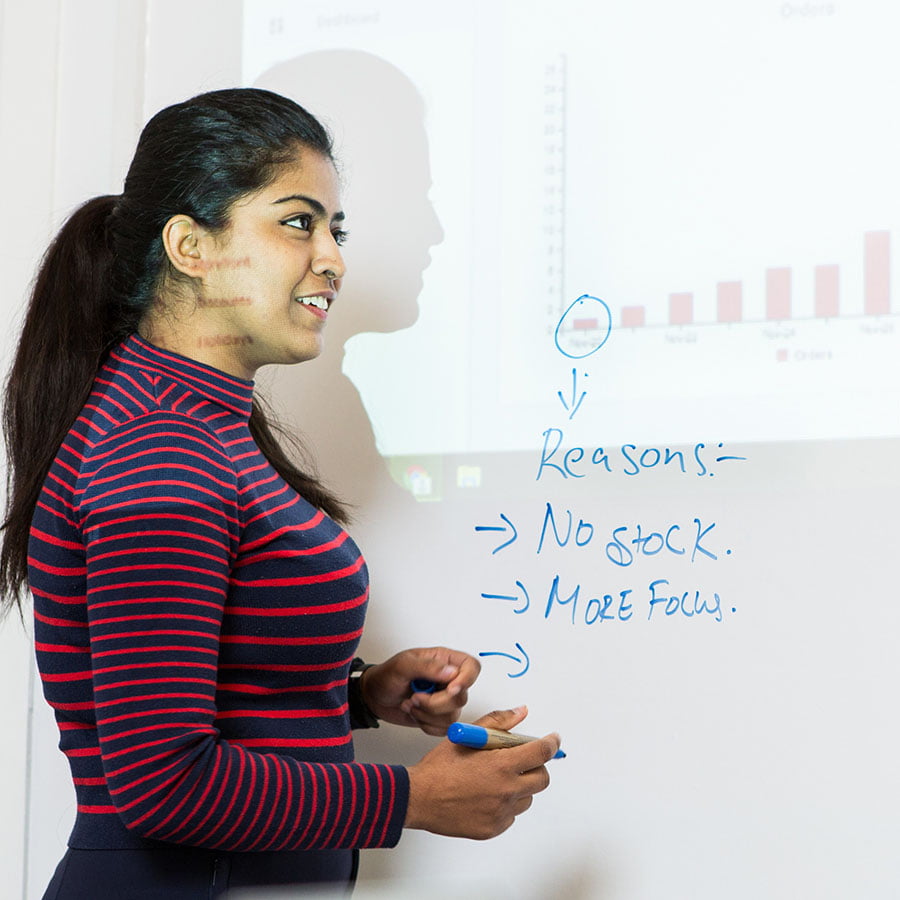
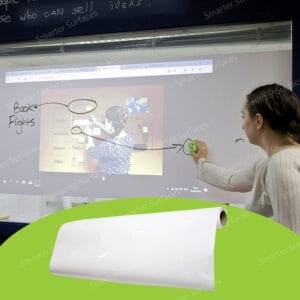
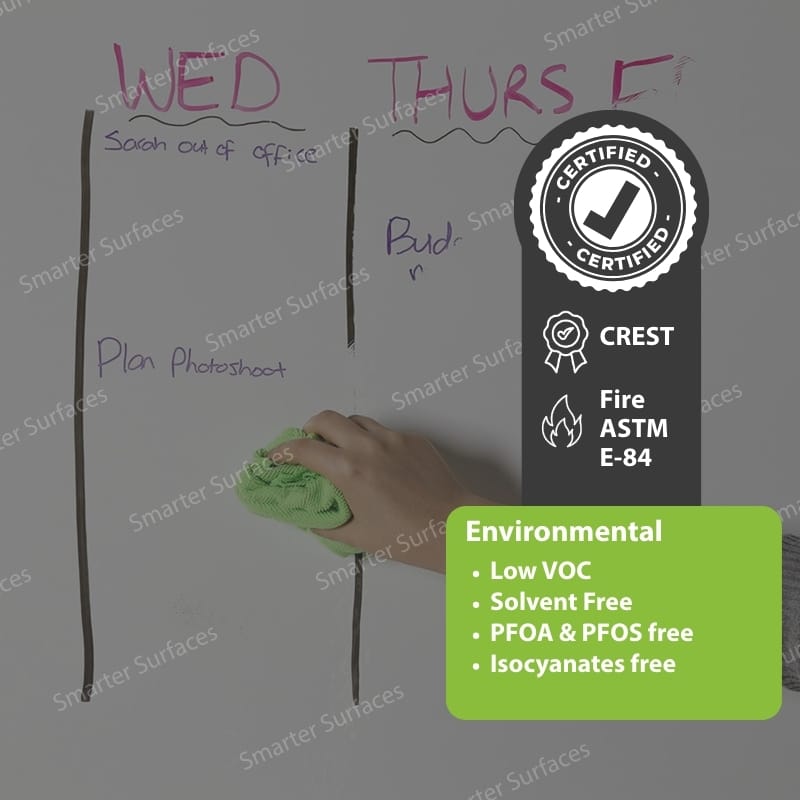
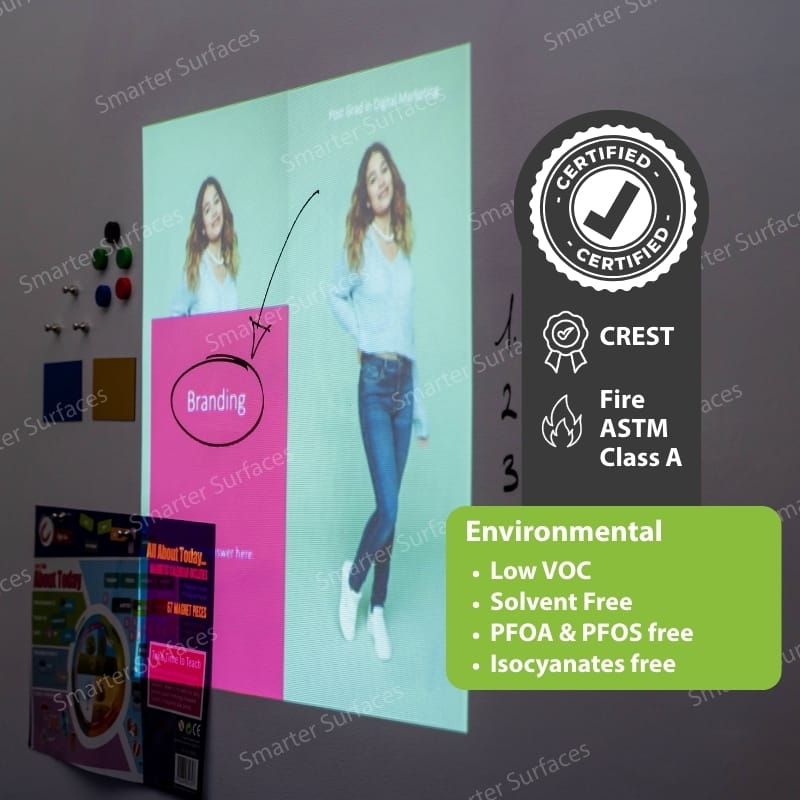
Performance: Dry Erase & projection with bright, sharp projection performance
Odor: None
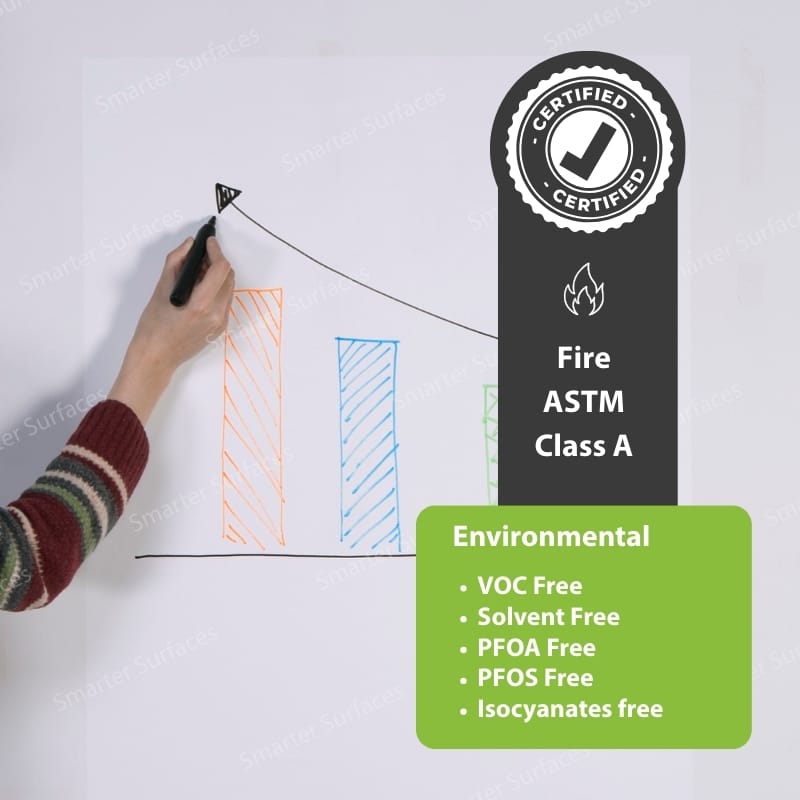
Environmental (exceeds all US standards): VOC free, solvent free, PFOA & PFOS free and isocyanates free
Certification: Independent certification for Fire
Suitable Surfaces: walls, plaster, concrete, wood, metal, doors or any smooth surface
Built using over a decade of expertise in whiteboard and projection manufacturing.
Looking for more? The Three in One Magnetic Projector Screen Whiteboard Wallpaper transforms walls into functional projection surfaces.
Confused about the right choice? Video call support, live chat, phone, and email assistance are available. Benefit from free technical advice, creative ideas, and tailored product recommendations to find the perfect fit. Need installation help? Expert guidance and assistance are always available.
Explore More Products From Smarter Surfaces


Projection Screen Whiteboard Self Adhesive Film – Peel & Stick
From $125.00 Select options This product has multiple variants. The options may be chosen on the product pageMagnetic Projector Screen Whiteboard Wallpaper – 3 in 1 Wallpaper
From $313.00 Select options This product has multiple variants. The options may be chosen on the product pageWhiteboard Wallpaper – Dry Erase Wallpaper
From $162.00 Select options This product has multiple variants. The options may be chosen on the product page
Magnetic Whiteboard Wallpaper 2-in-1 Surface
From $263.00 Select options This product has multiple variants. The options may be chosen on the product page


How To Apply Projector Whiteboard Wallpaper?
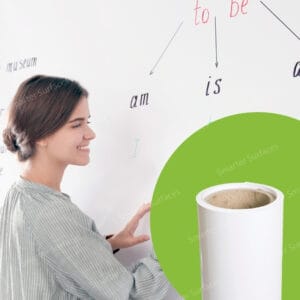
Projector Whiteboard Wallpaper is easy to apply and ready to use after 24 hours. It can be installed horizontally, vertically, or even on curved walls, although it is recommended to install it horizontally at eye level for easier use.
To apply projection whiteboard wallpaper, follow the steps below -
- Step 1 - Begin by applying two coats of Smarter Surfaces wallpaper adhesive to the wall.
- Step 2 - Apply the wallpaper just like traditional wallpaper to the second coat of adhesive while the adhesive is wet, using a flat plastic edge to smooth out any air bubbles.
- Step 3 - Trim the wallpaper to size using a sharp knife.
- Step 4 - To cover an entire wall, you can easily add multiple rolls by aligning their edges together.
A detailed application guide and video are available to help you with the installation process.
If you'd like to test the performance of the products, you can request a sample pack.
Do you have any queries or need assistance? We take pride in offering outstanding customer service and support. Feel free to contact us.
![]() A full application guide to help you apply the Projector Whiteboard Wallpaper.
A full application guide to help you apply the Projector Whiteboard Wallpaper.
