

Explore More Products From Smarter Surfaces


High Contrast Projector Screen Paint – Light Grey Matte
From $251.00 Select options This product has multiple variants. The options may be chosen on the product page
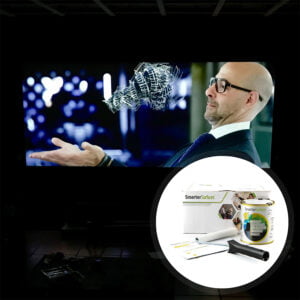
Black Projector Screen Paint for High Contrast Projections
From $251.00 Select options This product has multiple variants. The options may be chosen on the product pageMagnetic Projector Screen Whiteboard Wallpaper – 3 in 1 Wallpaper
From $313.00 Select options This product has multiple variants. The options may be chosen on the product pageAmbient Light Rejecting Projector Screen Paint
From $239.00 Select options This product has multiple variants. The options may be chosen on the product page


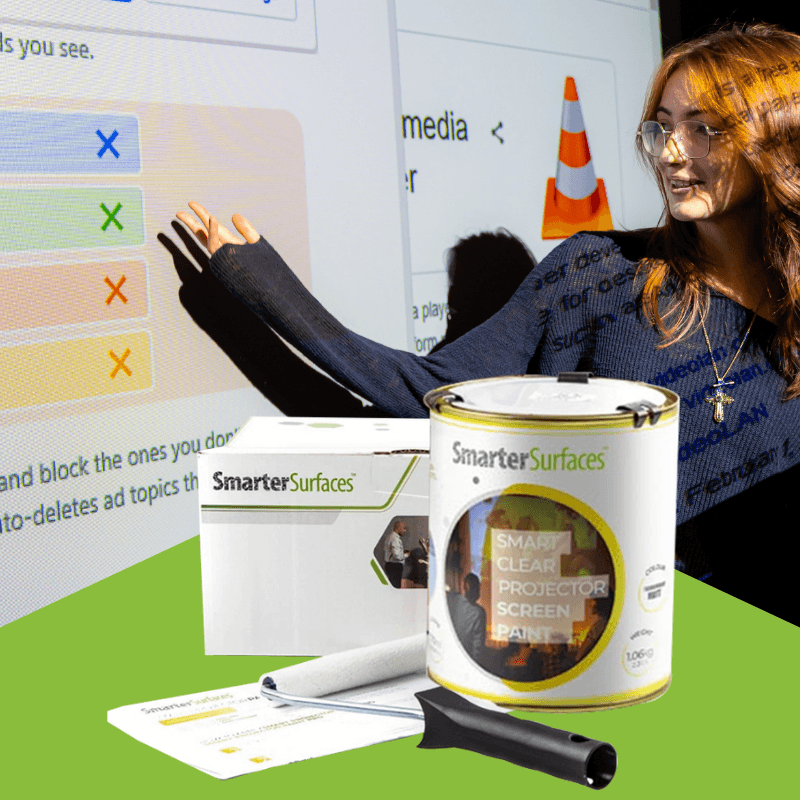
How to Apply Clear Projector Screen Paint
- Prepare the Surface: Ensure the surface is clean, smooth, and free from any loose debris or materials to guarantee optimal adhesion.
- Base Coat for New Surfaces: If you're working with a new surface, apply your chosen base coat color and allow it to dry completely before proceeding.
- Mark the Area: Measure and mark the area where you'll be applying the paint. Use masking tape to define the space. The maximum coverage area for this paint is 279 cm x 157 cm (109.8” x 61.8”). For a seamless result, it’s recommended to paint the entire wall so the projector paint blends naturally with the surrounding area.
- Stir and Apply: Thoroughly stir the paint before use. For best results, use a mohair or lint-free short-pile roller. Apply two coats of paint, ensuring the first coat is fully dry before applying the second.
- Drying Times :
- First coat drying time: 2-4 hours at 20°C.
- Touch-dry: 1 hour.
- Ready to use: 24 hours.
Try Before You Commit
If you are unsure, request a sample pack to test the paint before purchasing. It’s an excellent way to ensure it meets your needs.
Need Additional Help?
Our customer support team is always ready to assist. Whether you need guidance on installation or have any questions, feel free to reach out via call or email. We are here to help make your setup effortless.
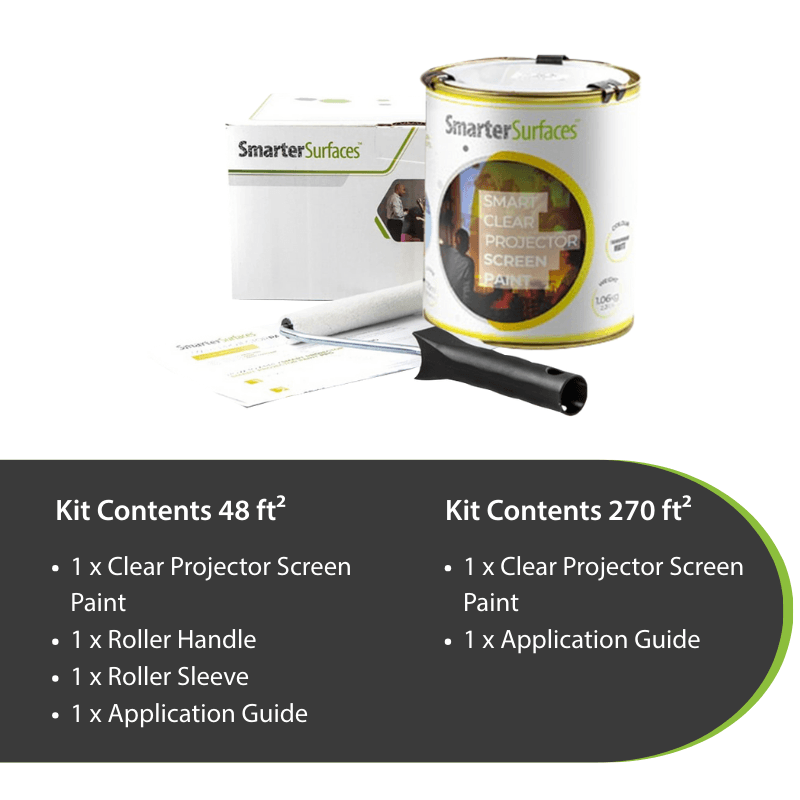
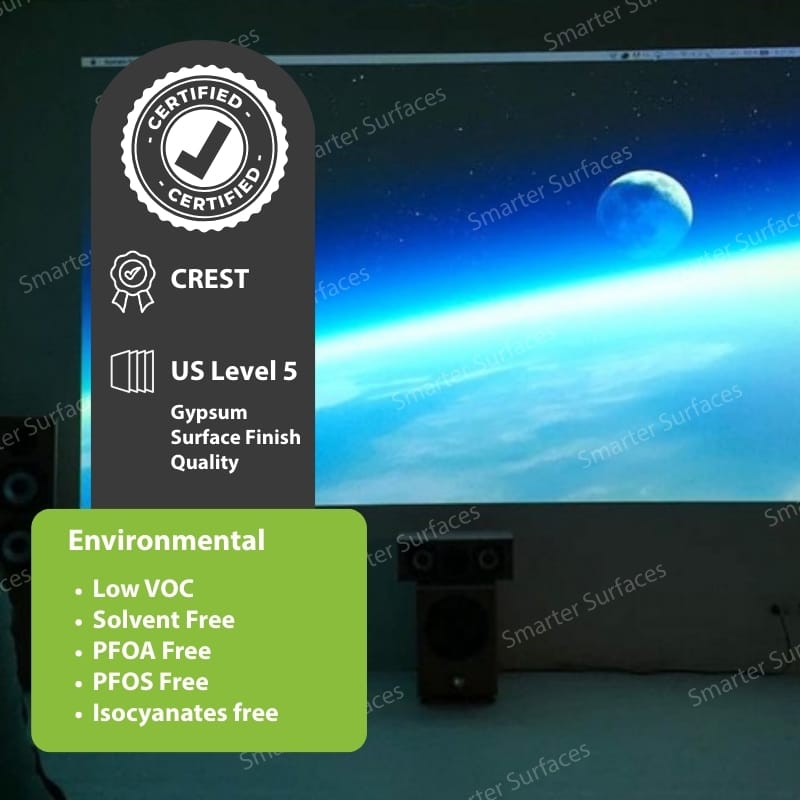
![]() A full application guide to help you apply our Clear Projector Screen Paint.
A full application guide to help you apply our Clear Projector Screen Paint.
