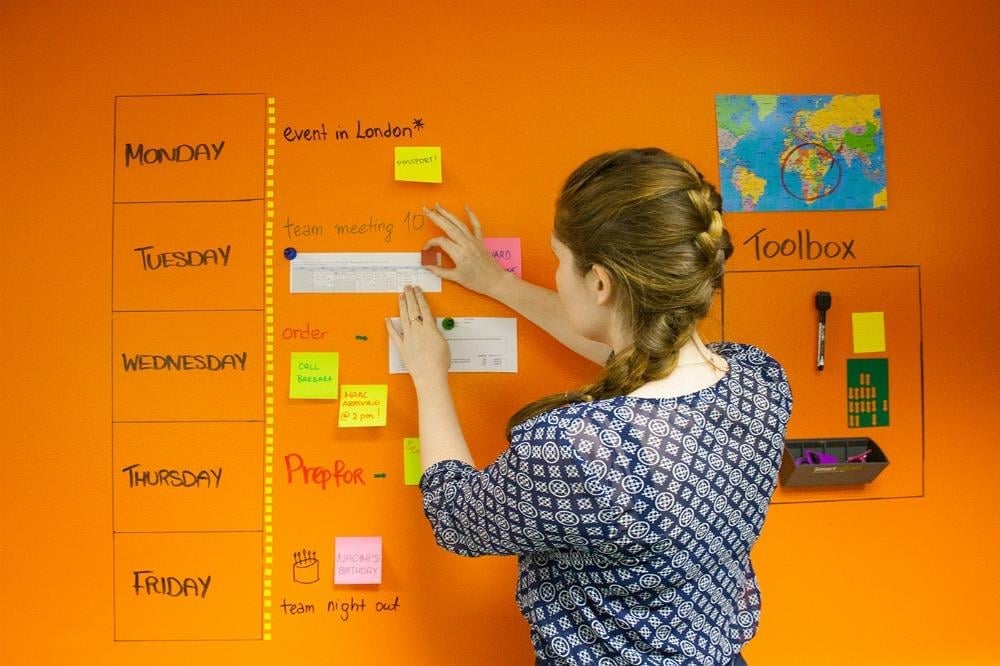
How To Turn Your Wall Into A Magnetic Whiteboard

One of the things we hear a lot from our customers is, how limited in size magnetic panels and whiteboards can be. How are you supposed to work efficiently as a team if only one person can use them at the one time? This isn’t very effective.
By turning your wall into a magnetic whiteboard, this no longer needs to be a problem. You’ll have unlimited space to explore your ideas. Not only that, but your surface will be equipped with two functionalities for you to use: Magnetic and Dry Erase.
To find out how you can transform your surface into a magnetic whiteboard,, just keep reading below. It’s easier than you think.
Create Your Magnetic Whiteboard Wall
First Step, Measure
- Measure the area you wish to cover accurately, making sure you have the right amount of paint.
Prepare Your Surface
- Check for any holes or cracks and fill them with decorators filler.
- Once this is dry, sand the surface until it is smooth and remove any dust.
Product 1: Magnetic Paint
We recommend applying 3 coats of magnetic paint (all available in your tin). Apply up to 6 coats to maximize the magnetic strength of your surface.
You can see the difference in the magnetic strength between 3 to 6 coats in our video here.
- Stir the magnetic paint before application
- Apply a generous first coat of paint to your wall leaving a smooth finish
- Once your first coat is dry (this will take approximately 2 hours lightly) sand the surface. Remove any dust with a dry brush or cloth.
- Repeat these steps until you reach your desired number of coats.
Top tip: You can add a final layer of magnetic paint by using a straight metal edge to skim the product across the top of the surface to create a highly smooth finish.

Product 2: Whiteboard Paint
Primer
- Prime your surface with a high quality water based primer such as our White Primer until all the grey is covered. Ordinary emulsion/latex paint is not suitable for use as a Primer.
- For a Whiteboard Paint white finish – It is essential to use a white primer before application.
- For a colored surface – paint the surface with a high sheen/glossy paint in the color of your choice. This must be applied before the Whiteboard Paint in Clear.
Whiteboard Paint
- Pour all Part As into Part B and stir for no less than 5 minutes. Apply your paint within 1 hour of mixing (high temperatures will reduce this time).
- Apply Whiteboard Paint in 1 meter sections, painting around the edges first with a new brush. Then with a new roller, cover the 1 meter section 10 times to ensure an even coating.
- Once each section is completed, examine for imperfections and missed spots and fill in as required.
- Make sure each section is complete before moving on to the next.
- Examine the painted surface from several angles. Go over any missed spots or pinholes on the surface, while the surface is still wet.
Drying Time
- Whiteboard Paint will be touch dry in 5 hours and ready to use in 7 days.
- Please note the performance (erasability) of Whiteboard Paint will improve over the first 30 days as it continues to cure. Therefore for the first 14 days we recommend cleaning your surface daily.
- For best results, use the accessories found on our website including Whiteboard Cleaning Spray and markers. Normal magnets can not be used with Magnetic Paint, please use Smart Neo-Magnets or or other neodymium magnets.

Do You Have To Choose Paint?
That’s how easy it is to create a magnetic whiteboard wall. But you don’t just have to stick to Magnetic Whiteboard Paint. Why not check out some of our other product options as well?
There’s Magnetic Plaster, for those who want an even stronger magnetic strength for their magnetic whiteboard wall. Or why not opt for a Magnetic Wallpaper? This product comes pre-primed, in a white finish and a rapid install speed.
If you aren’t sure about paint, either of these products are great for creating your magnetic whiteboard wall. Instead of Whiteboard Paint you can opt for a Dry Erase Wallpaper. This product has a glossy finish, is non ghosting and is perfect for creating a magnetic whiteboard wall when combined with Magnetic Plaster.
Is it time to create your own magnetic whiteboard wall?
Have you any questions regarding our products? Book a free video consultation today. Talk to us about your goal and our experts will help you find the best product for you.


